M5. Editing Muscles
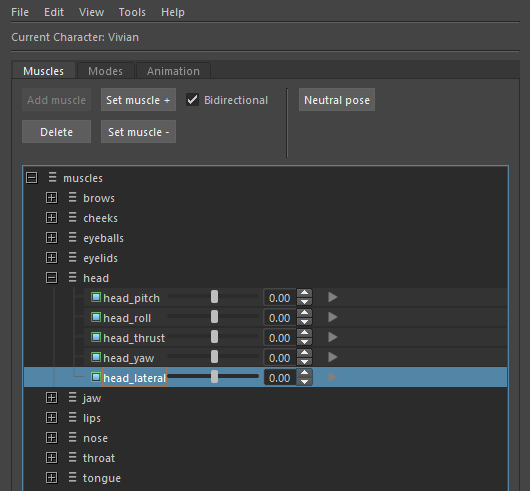
The Muscles tab displays all of the muscles in the Character Control File. For the essential guide to setting up muscles, see the Muscles article in SGX Concepts.
The muscles are grouped by anatomical region, and color coded:
Muscles in yellow exist in the default set but do not yet have a pose defined.
Muscles in blue are protected muscles.
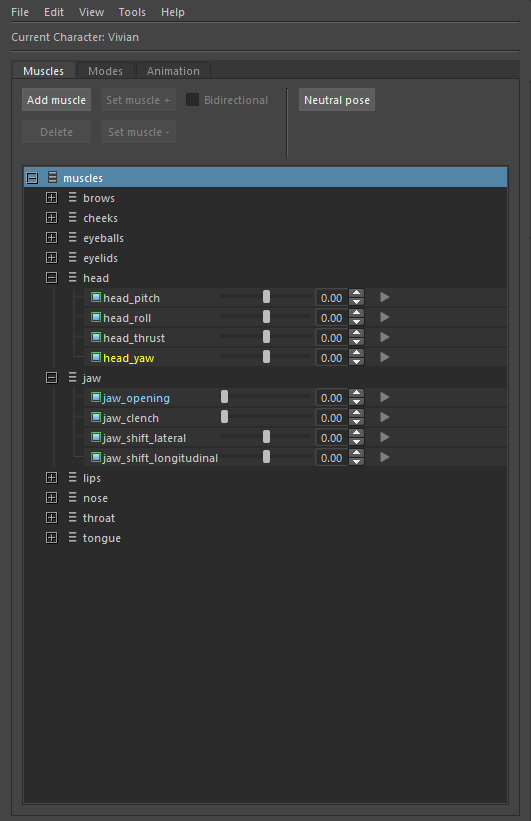
The slider next to each muscle sets the current activation – in the range [0,1] for uni-directional and [-1,1] for bi-directional muscles. The character in the scene will react in real time to the manipulation of these sliders. This is helpful for visual evaluation of the muscles or using them to help create other poses.
If at any point you want to return the state of the character to the neutral pose, simply press the Neutral pose button.

Adding muscles
To add a muscle, follow these steps:
Select the anatomical region to which you want to add the muscle. (It is important to use the closest matching anatomical region, so that the new muscle inherits suitable dynamic properties.)
Use the animation targets of the rig to put the character into the desired pose. Follow the best practices for setting muscle poses.
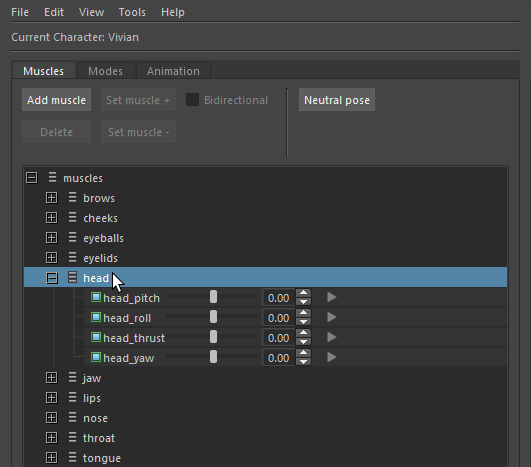
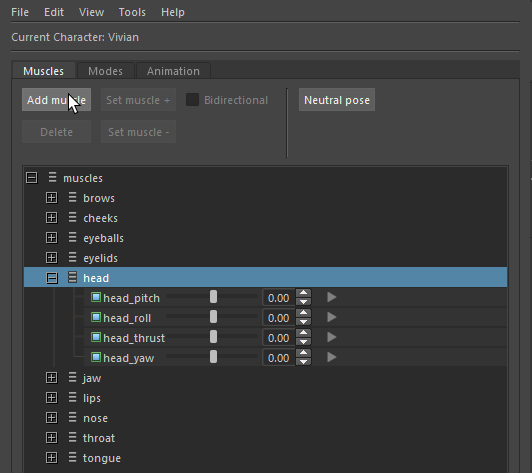
Click Add Muscle.
Enter a unique muscle name in the prompt and tick whether it should be bi-directional (this can also be toggled after the muscle is created).
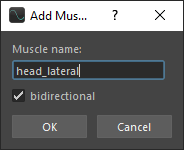
Press OK in the prompt – the newly created muscle should appear under the selected anatomical region – or Cancel to cancel creation.
Removing muscles
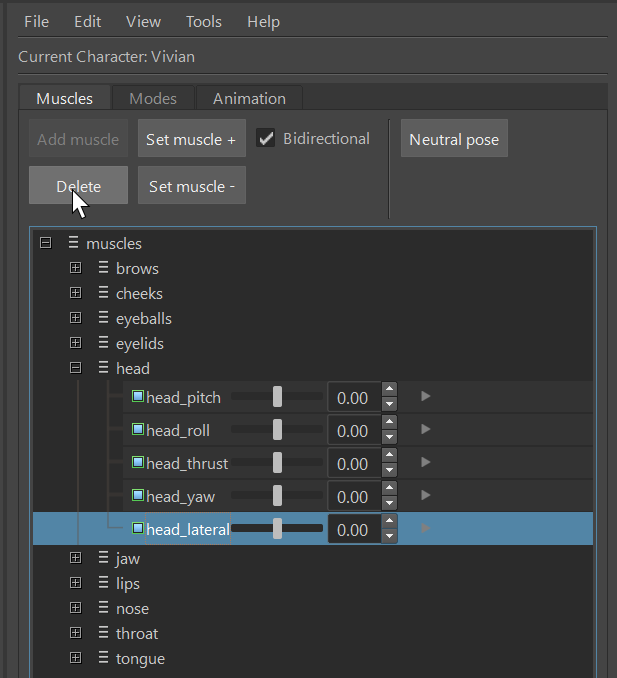
To remove a muscle, simply select the muscle and click the Delete button. Confirm deletion in the popup dialog.
Editing muscle poses
Once a muscle exists, you can edit its pose, by following these steps:
Select the muscle you would like to edit.
If you would like to tweak the existing muscle, set the value to 1 (or less than 1 for a reduced intensity). If you would like to recreate the muscle from scratch, set the value to 0.
Adjust the animation targets to refine the pose.
Click Set muscle+. This will overwrite the muscle pose with the changes made.
Editing negative muscle poses
For bi-directional muscles, there is both a positive pose and a negative pose. By default, the negative pose is just the mirror of the positive pose, with all values negated. Thus if the positive pose has the head turning left, the negative pose will have the head turning right.
However, you can also edit the default negative pose, as follows:
Select the muscle you would like to edit.
If you would like to tweak the existing muscle, set the value to -1 (or something closer to 0 for reduced intensity). If you would like to recreate the muscle from scratch, set the value to 0.
Adjust the animation targets to refine the pose.
Click Set muscle-. This will overwrite the negative muscle pose with the changes made.
Changing the bi-directionality of a muscle
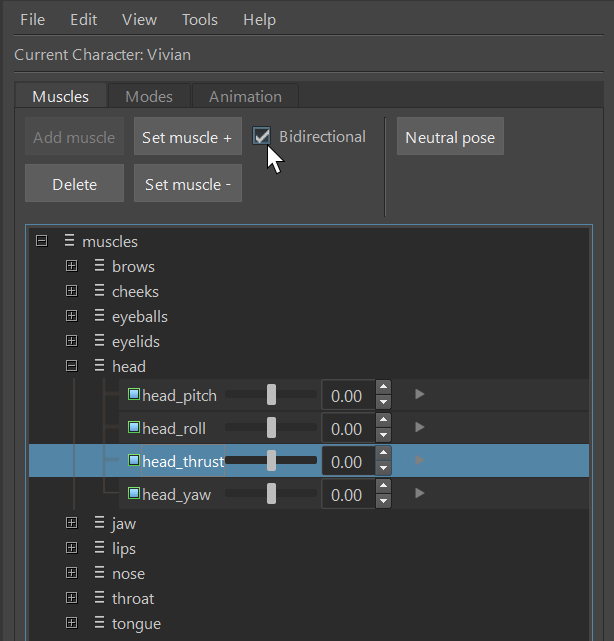
You can always change a muscle from uni-directional to bi-directional and vice-versa. Note that changing a muscle from bi-directional to uni-directional will result in the loss of any edits to the negative pose.
To change the bi-directionality of a muscle, select the muscle and tick/untick the Bidirectional checkbox.
Editing dynamic parameters
For the essential guide to setting dynamic parameters, lincluding how to evaluate them visually, see Editing Dynamic Parameters.
The dynamic parameter settings of a muscle – contraction duration and skew – are shown below the muscles list when the muscle is selected:
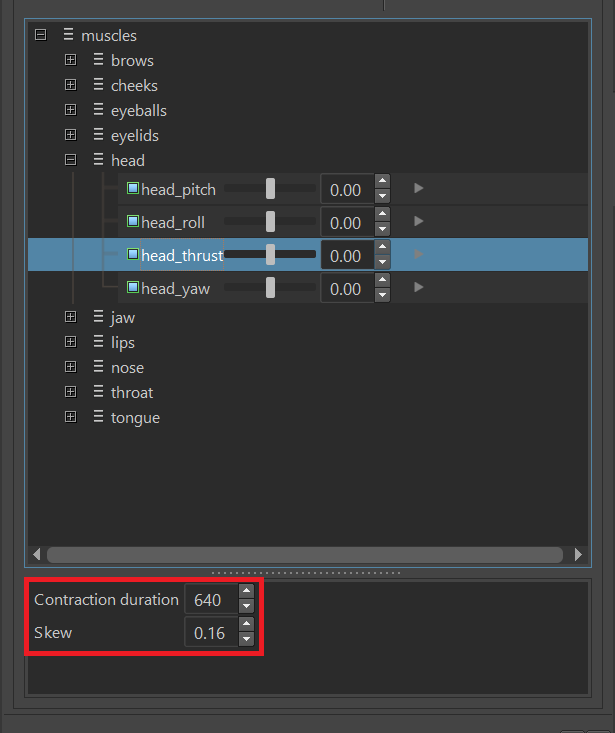
The values can be changed by typing in numbers or by clicking the spin-box up and down arrows.
Setting dynamic parameters is meaningless without accurate animation feedback. To view the movement of the muscle with the current parameter settings, set the current activation value to 1.0 and press the small ‘play’ button on the right side of the selected muscle.
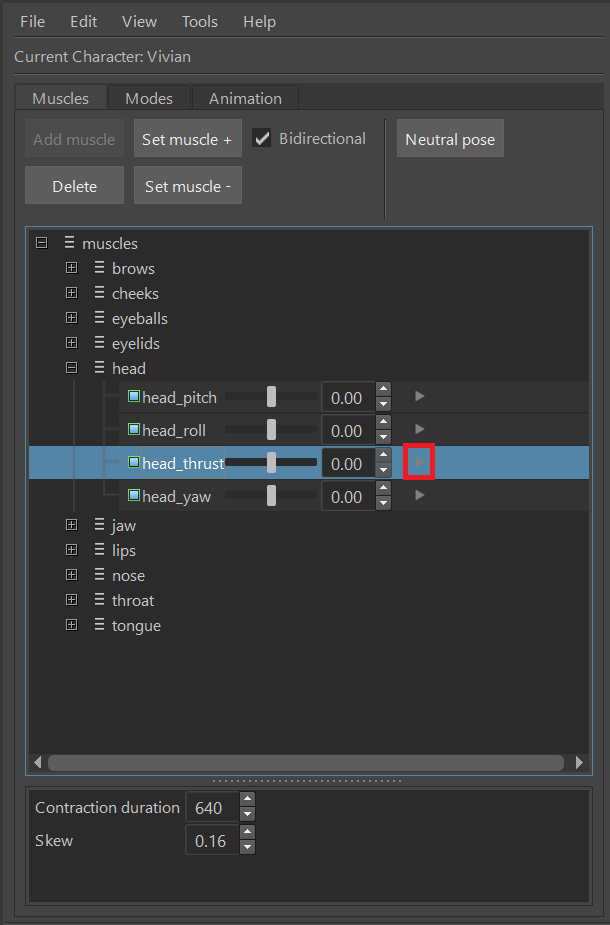
This will generate a playblast of the muscle moving from 0 to 1 and back to 0, which will be launched in your default video player. Follow the guidelines for viewing these videos and adjusting the values.
