Batch Processing
See SGX Batch Processing for a general introduction to batch processing. Batch processing may be launched in two ways:
From SGX Director, which launches an instance of SGX Producer
By running
SGX_Producer.exedirectly on the command line
The first method, using the SGX Director launcher, is discussed here. For further information on running SGX Producer directly, see the SGX Producer product guide.
The processing context
Prior to launching a batch process, the following must be staged:
Prepare input files - i.e. audio files and optional transcripts (see Preparing Input).
Make any desired changes to the Processing settings.
Configure processing resources in the Resources tab, including the target character, the language or dialect heard in the audio, and global behavior settings.
The Batch tab
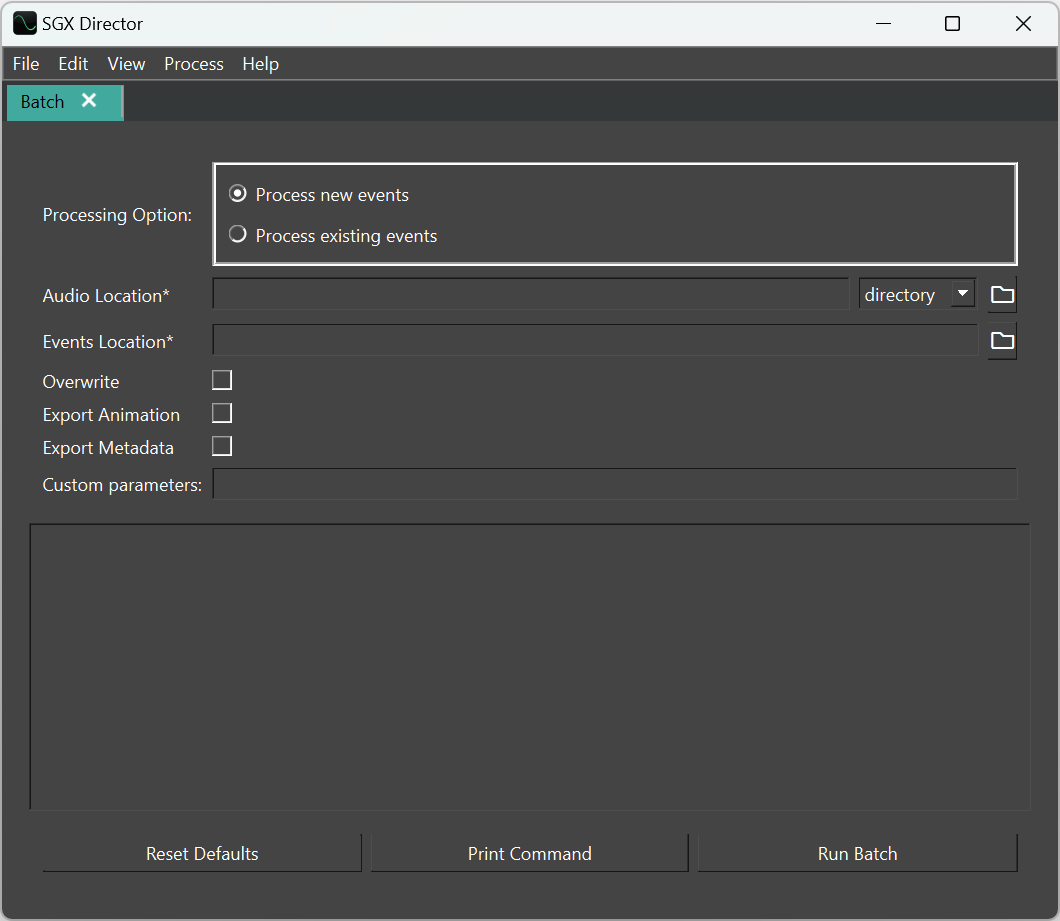
SGX Director provides a user-friendly interface for launching batches – the Batch tab. Open a new Batch tab by selecting File > New > Batch from the application menu, or alternatively, use the shortcut Ctrl+B.
Batch settings
Following are the settings for configuring a batch:
1. Processing options
There are two processing modes to choose from: process new events, or process existing events (see SGX Batch Processing for an overview of the difference). Note, this selection affects the remaining options.
%20-%20Copy.png?inst-v=a6ba6575-7c3b-4fe8-b613-ae274599f0fc)
2. Audio location (only with process new events)
Specify the Audio Location, where input audio and optional accompanying transcripts are found:
%20-%20Copy.png?inst-v=a6ba6575-7c3b-4fe8-b613-ae274599f0fc)
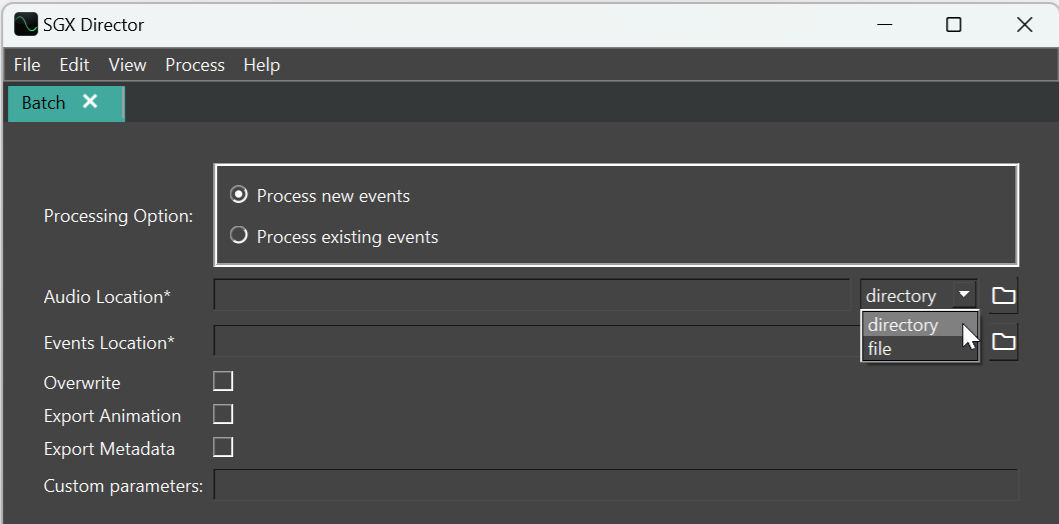
As described in Batch Input Formats, there are two choices for the audio input:
a directory of input files;
a spreadsheet file containing audio file paths and transcripts.
Choose the input format (“directory or “file”) from the dropdown menu:
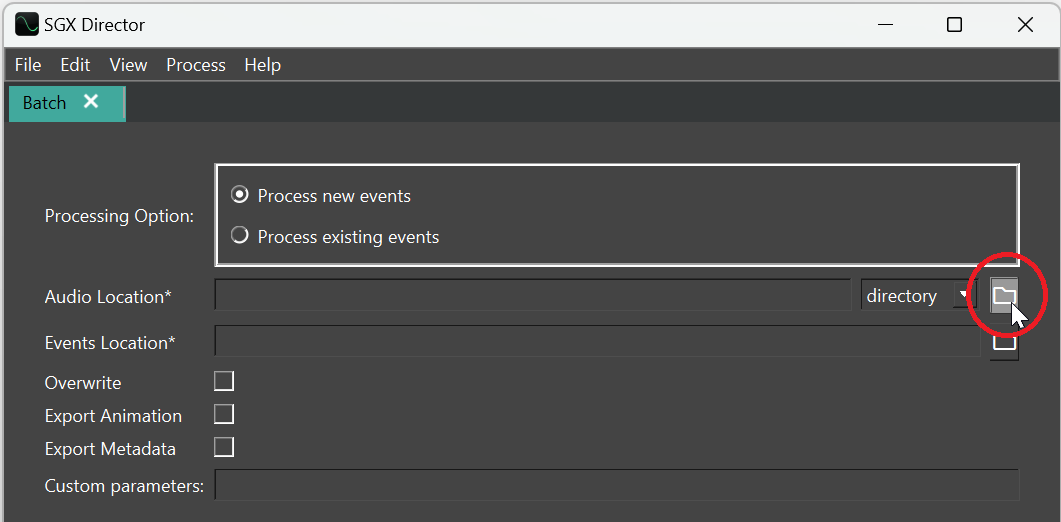
Then click the file icon to browse for the path of the directory or spreadsheet containing the input.
3. Events location
The Events Location is the directory where you want the newly created events to be saved, or where the events to be processed are already located, depending on the processing mode.
%20-%20Copy.png?inst-v=a6ba6575-7c3b-4fe8-b613-ae274599f0fc)
Browse for the path by clicking on the file icon.
4. Overwrite (only with process new events)
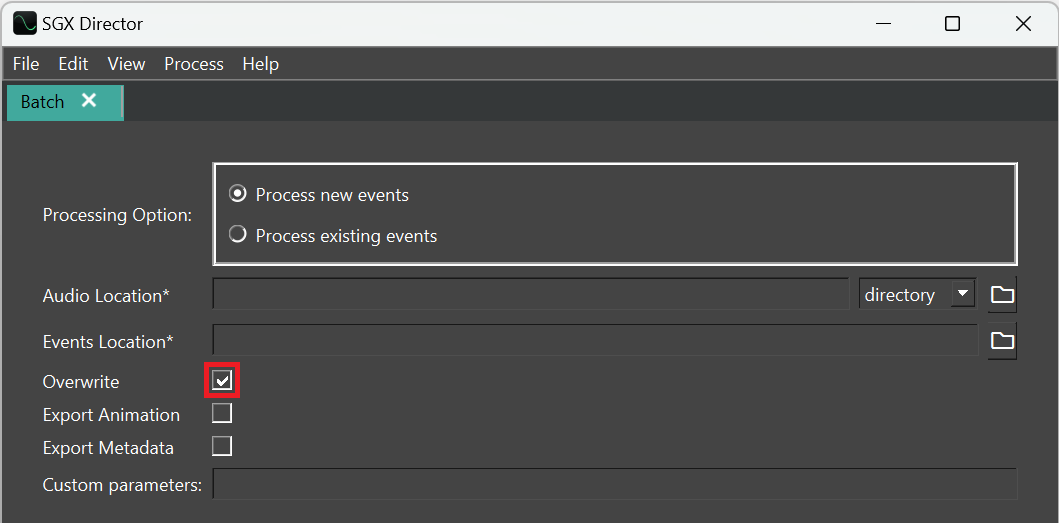
The Overwrite option determines whether newly created events can overwrite existing events with the same name in the events directory. If overwrite is not enabled, any duplicate events will not be saved and those items will be reported as uncreated.
5. Export animation
As described in Exporting, there are multiple ways to get animation out of SGX events. The primary approach is to use SGX Studio plugins (in Maya, Unreal, etc.). However, another approach is to export animation in a plain-text format called RegularTime Series (.rts), which can be imported into any format using a custom script.
One can add RTS export to the batch process by ticking the Export Animation checkbox.
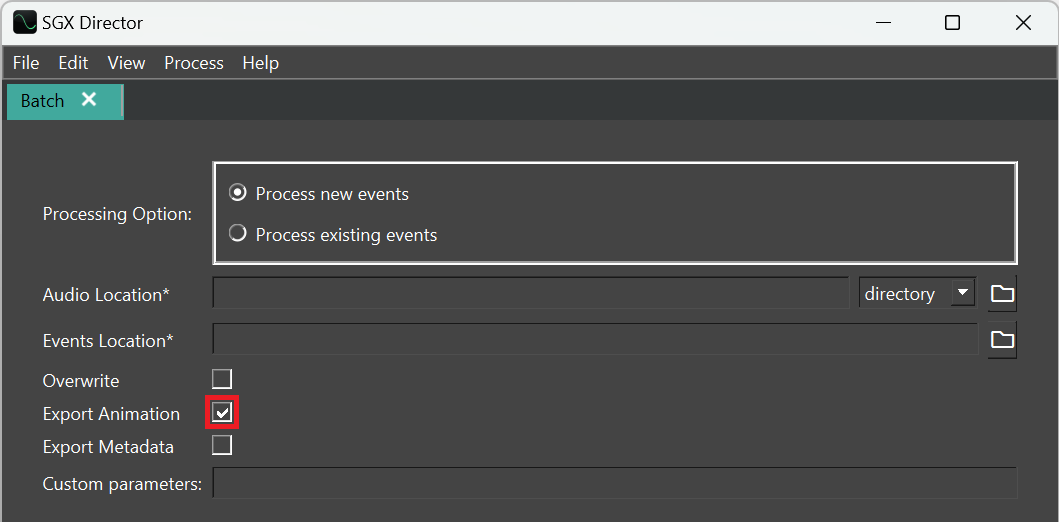
This outputs RTS files next to the event files, with matching base names.

6. Export metadata
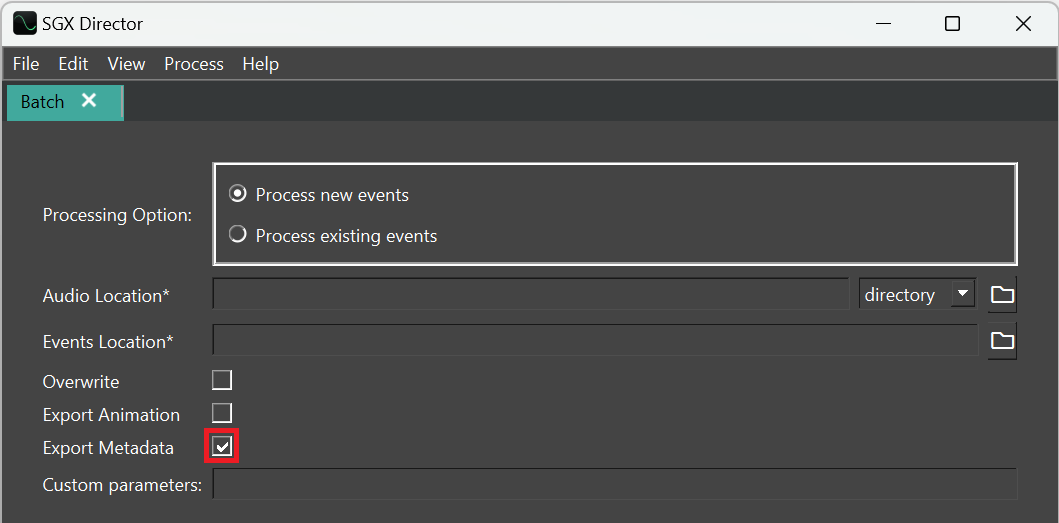
Tick the Export Metadata option to export metadata from events; see Exporting Metadata. This is an extended feature on your license. Contact customer support for more information.
7. Custom parameters
This field accepts a list of parameters for custom or experimental features, in the form xxx;xxx;xxx. Each xxx can be either a single term or a key-value pair in the form key,value. This may come up if you are participating in a beta test, for example.
Running the batch
Once the processing context and batch configuration are set, you can run the batch. The batch tab must be the current content tab. Then, to launch batch processing, do one of the following:
Select Process > Run from the menu
Use the keyboard shortcut Ctrl+R
Press the Run Batch button:
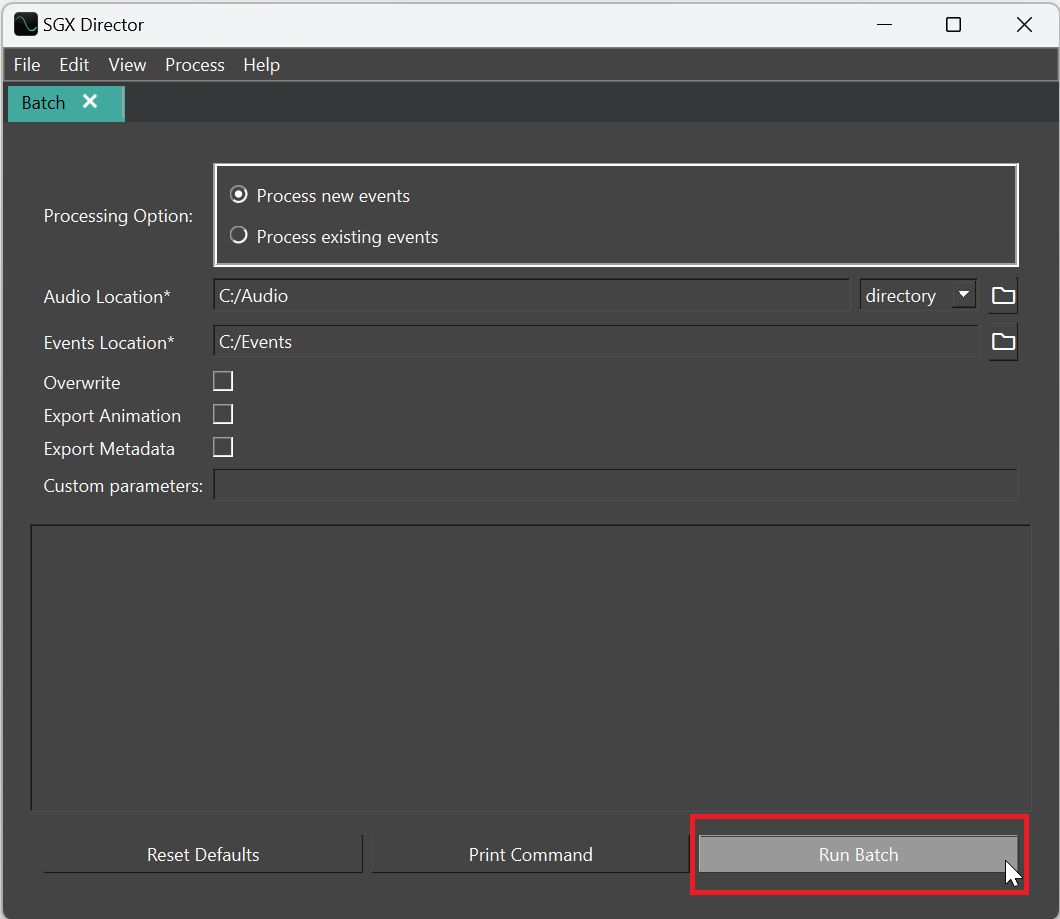
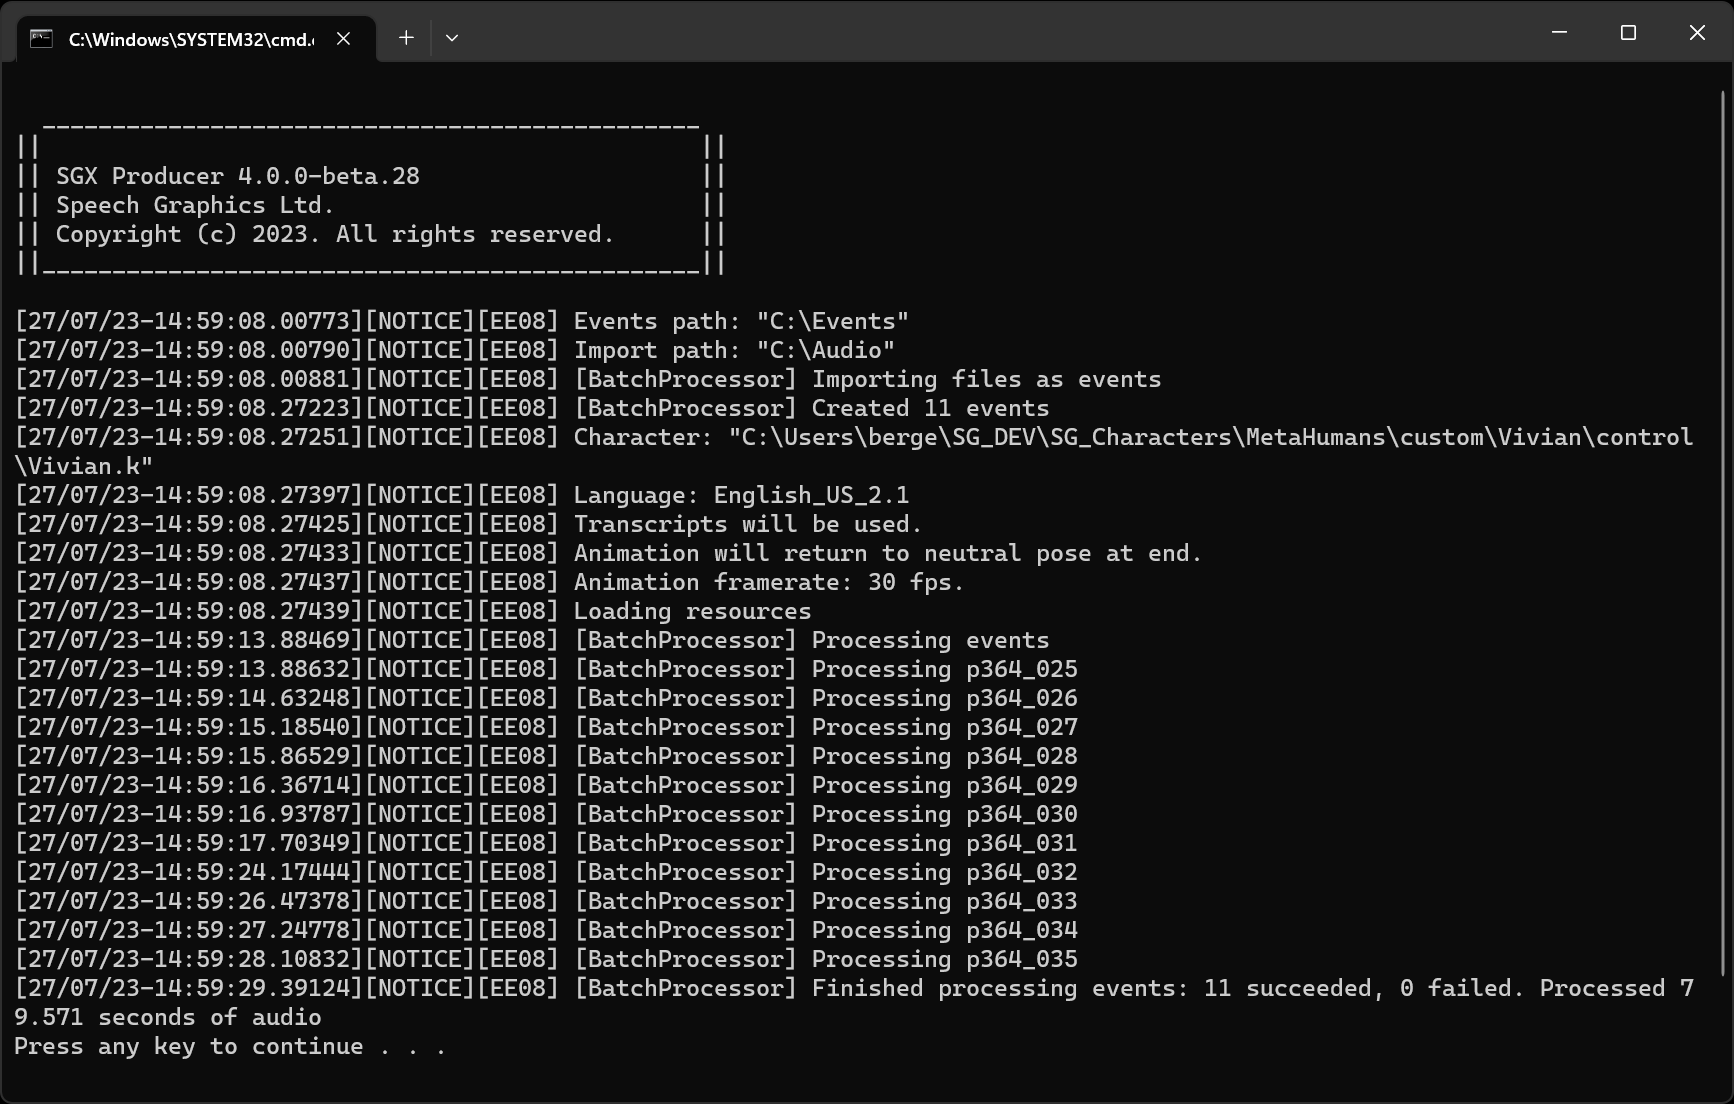
This launches an instance of SGX Producer which runs in a console window. This is a separate process and will continue running after SGX Director is closed.
Another way to run the batch is to print an SGX Producer command corresponding to the current processing configuration, and copy the command into the console or a script. To print the command, press Print Command:
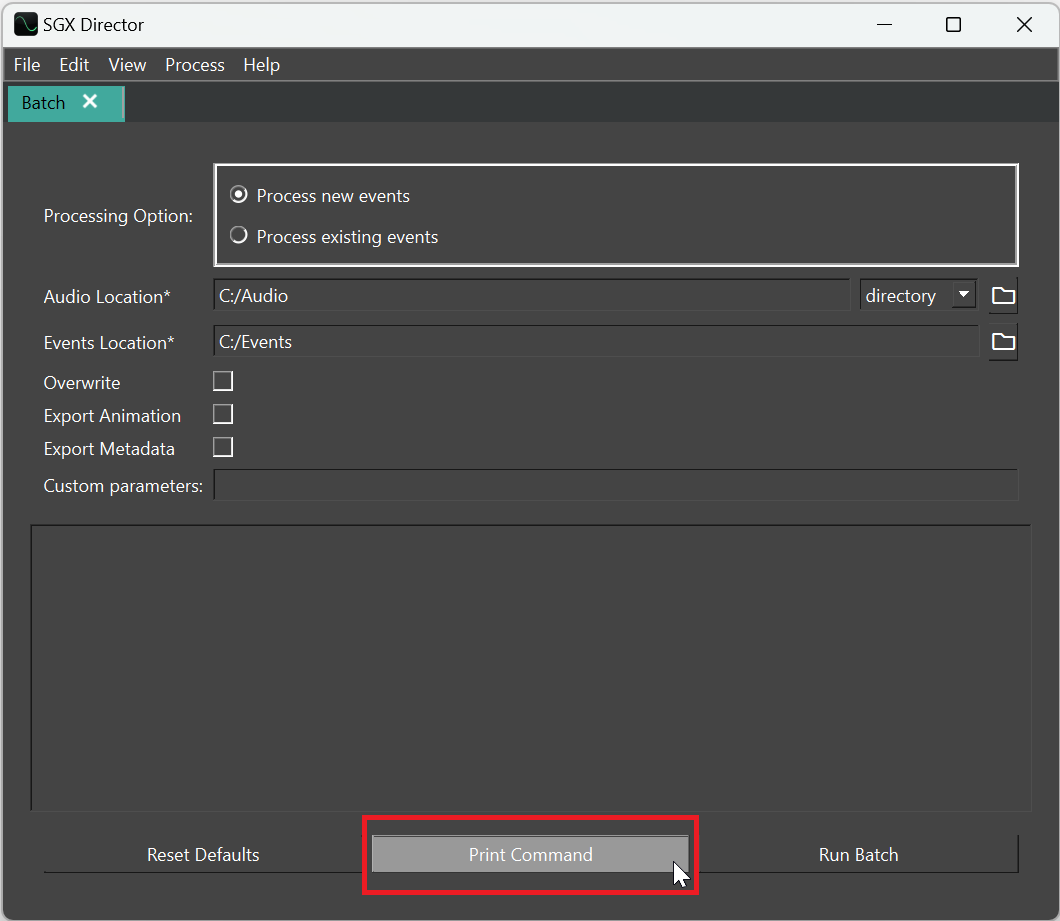
The SGX Producer command will be printed to the command window, where it can be selected and copied for pasting into the console or somewhere else:

